There can be several reasons why you want to disable the Ethernet or Wi-Fi network adapter for Windows 11. Either you want to disconnect the computer from the Internet, or you want to deactivate only a certain type of connection, if you have a computer connected both by cable (Ethernet), both wireless (Wi-Fi)
See step by step, how you can disable the cable connection, Bluetooth or Wi-Fi for a computer or laptop with Windows 11.
1. Open the settings Windows 11 - Press the key "Windows", then write "settings” and press the key Enter. Alternatively, you can directly press the key combination (keyboard shortcut)Windows + i".
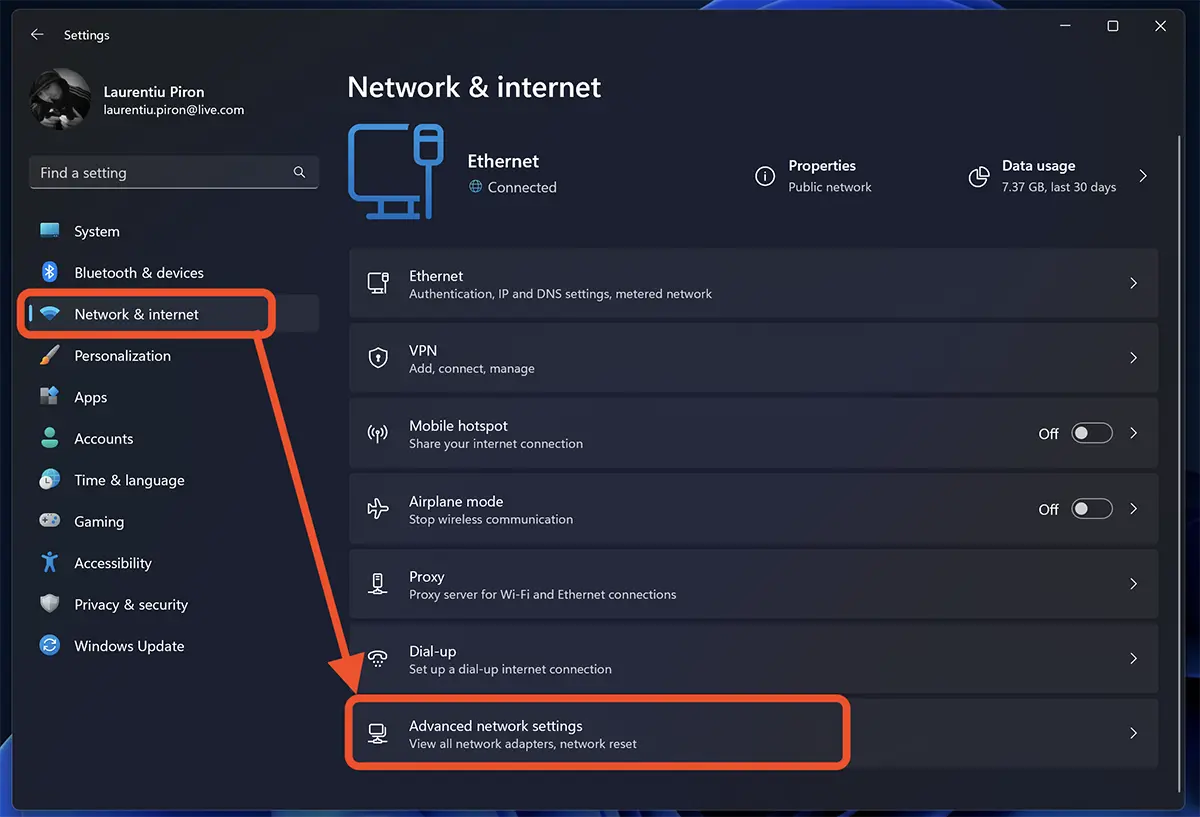
2. Click on "Network & Internet” from the left sidebar.
3. In "Network & Internet", scroll down to "Advanced network settings". Here are the advanced settings for network and internet connection.
4. In "Advanced Network Settings", under the "Network adapters", you click on the button "Disable” for the adapter you want to disable in the operating system Windows 11.
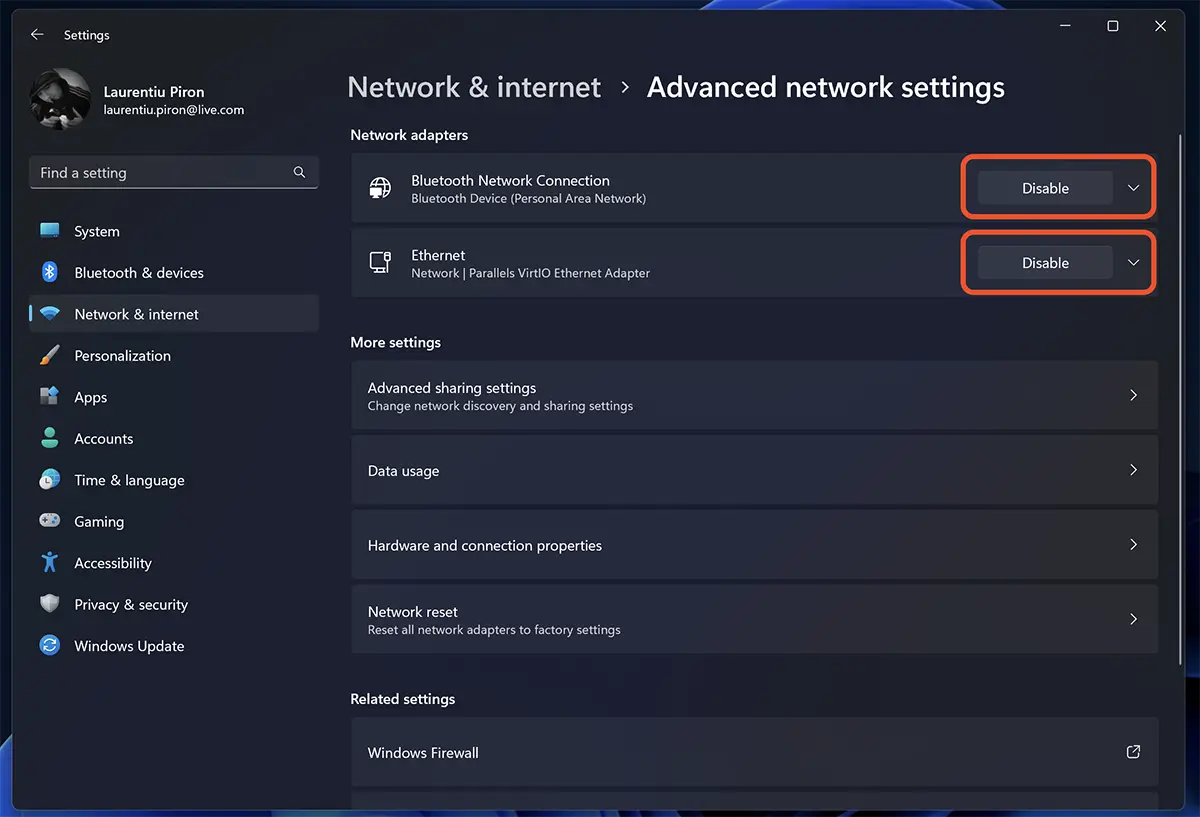
In this way, you disable the network adapter for the cable connection (Ethernet), wireless (Wi-Fi) or Bluetooth the operating system Windows 11.
The disconnection will be done both from the Internet and from the local network (LAN).