
macOS este un sistem de opereare foarte stabil, care oferă suport pentru orice activitate a utilizatorului. Cu toate acestea, uneori este necesar să ai la îndemână și sistemul de operare Windows. În acest tutorial o să vezi pas cu pas cum poți să instalezi Windows 11 pe Apple Silicon cu VMware Fusion.
Așadar, dacă dorești să intalezi sistemul de operare Windows 11 pe dispozitive iMac, MacBook cu arhitectură Apple Silicon, cum ar fi cele echipate cu procesoare M1, M2, M3, pașii din ghidul de mai jos te vor ajuta.
How to install Windows 11 on Apple Silicon with VMware Fusion
Pentru a începe, trebuie să obțineți imaginea Windows 11 ARM de la Microsoft. Veți observa că atunci când o descărcați, veți obține un fișier .VHDX (Hyper-V), incopatibil cu VMware, ar care poate fi convertit executând în terminal linia de comandă de mai jos:
/Applications/VMware\ Fusion.app/Contents/Library/vmware-vdiskmanager -r ./Windows11_InsiderPreview_Client_ARM64_en-us_22598.VHDX -t 0 ./Windows11.vmdkAșa cum se observă, se utilizează instrumentul vdiskmanager de la VMware pentru conversie.
Această linie de comandă va transforma VHDX într-un VMDK (un format pe care îl puteți deschide și în VirtualBox), cu ajutorul instrumentul vdiskmanager.
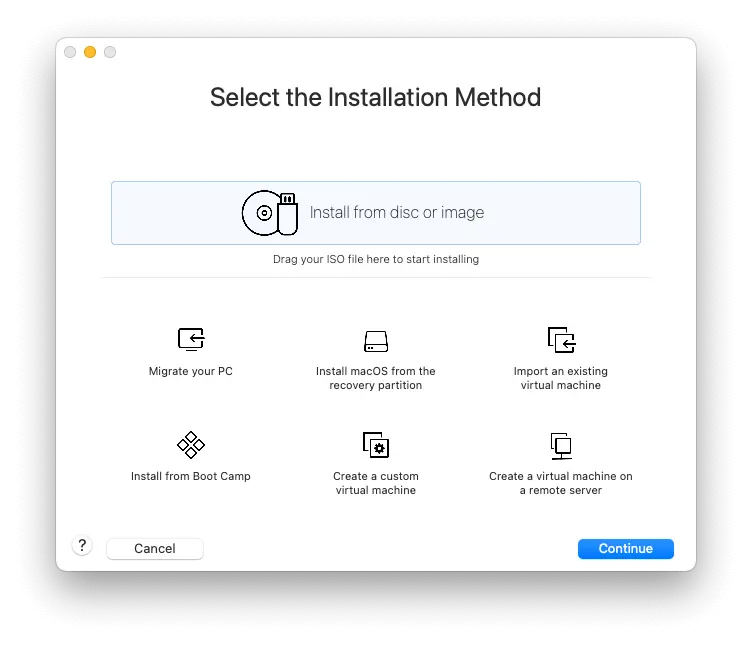
Odată ce acest proces este finalizat, porniți VMware apoi creați o nouă mașină virtuală (VM). Apoi, selectați “Create Custom Virtual Machine“.
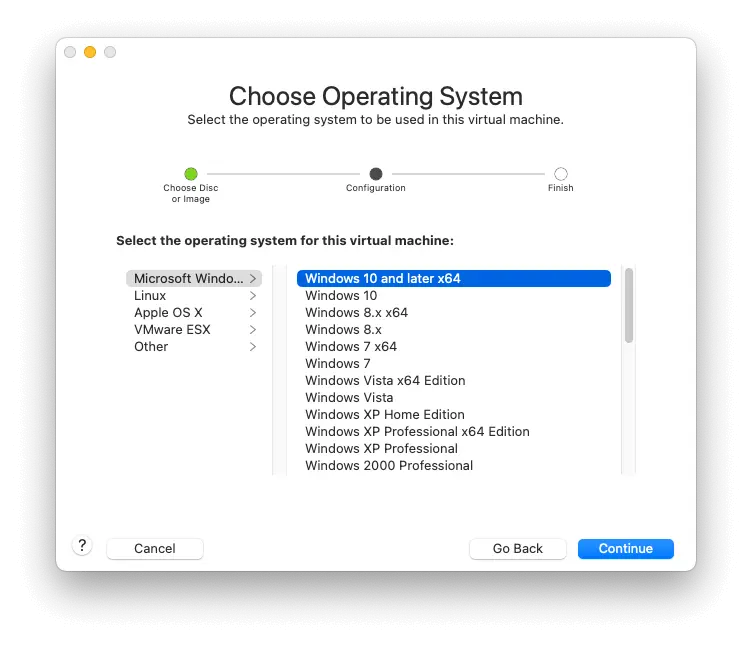
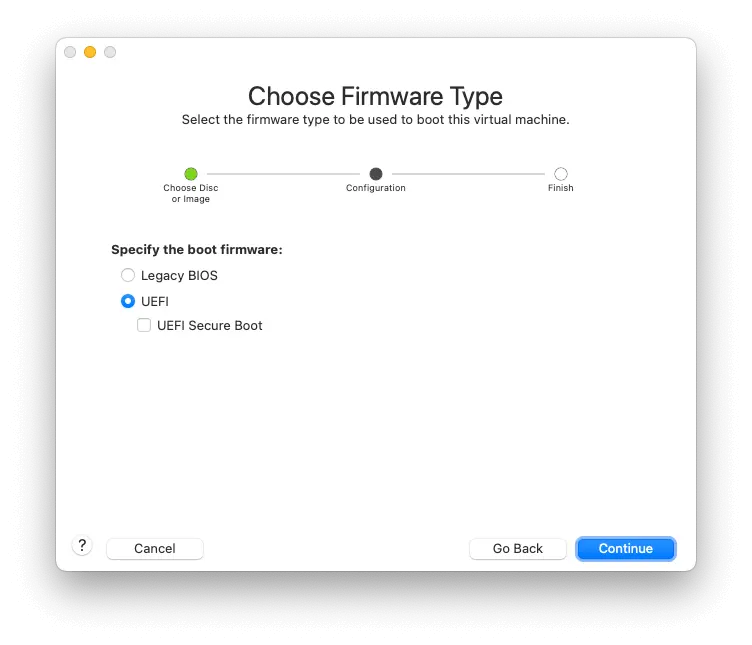
Selectați Windows 11 ARM ca sistem de operare, apoi nu uitați să bifați caseta “UEFI Secure Boot“.
Setați o parolă, apoi mergeți să obțineți imaginea VMDK ca disc virtual (Virtual Disk).
La selectare, nu uitați să alegeți “Make a separate copy of the virtual disk.”. Acest lucru va copia discul virtual în locația aleasă în momentul creării sale, pentru a evita orice bug-uri sau alte inconveniente.

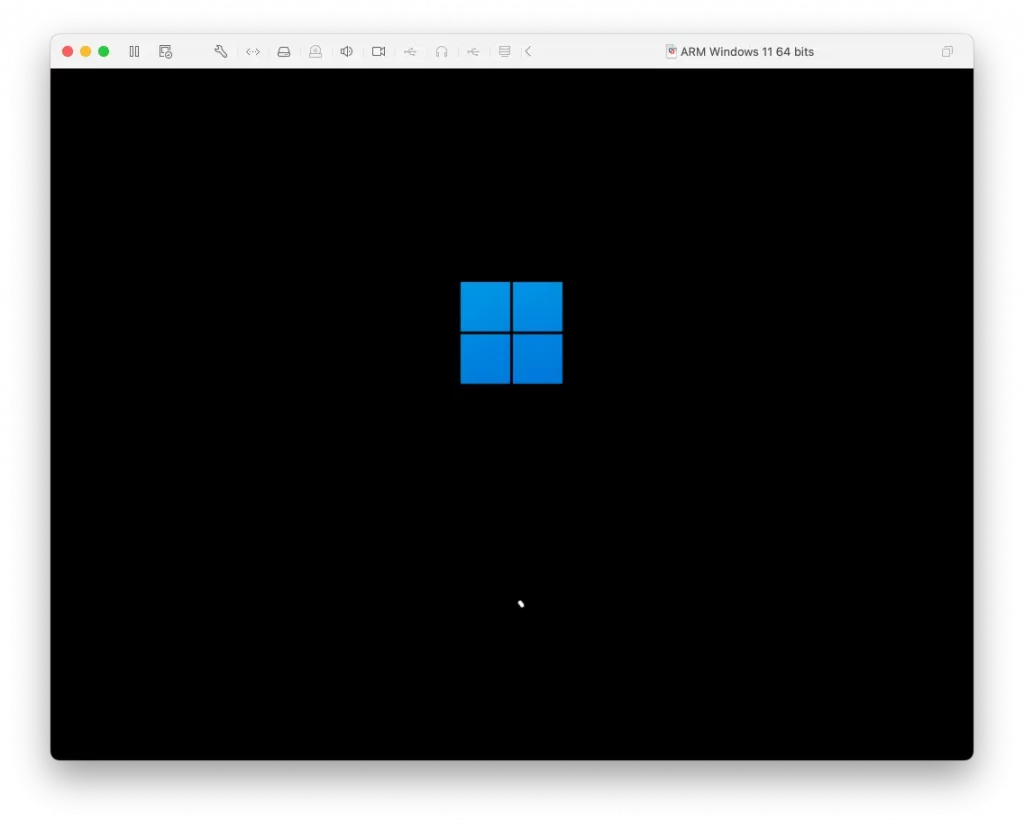
Finalizați operațiunea și deschideți VM (Mașina Virtuală) cu Windows 11 ARM pe Mac Silicon.
Problema este că VMware nu are suport de rețea în această imagine. Deci, va trebui să instalați Windows fără suport de rețea. Când vă aflați la acest pas (sau înainte), apăsați combinația de taste SHIFT + F10 (dacă aveți o tastatură Mac, va trebui să apăsați Fn + F10). Aceasta va deschide un terminal în care introduce-ți linia de mai jos:
OOBE\BYPASSNROAceasta va activa posibilitatea de a instala Windows 11 fără suport de rețea și va reporni instalarea.
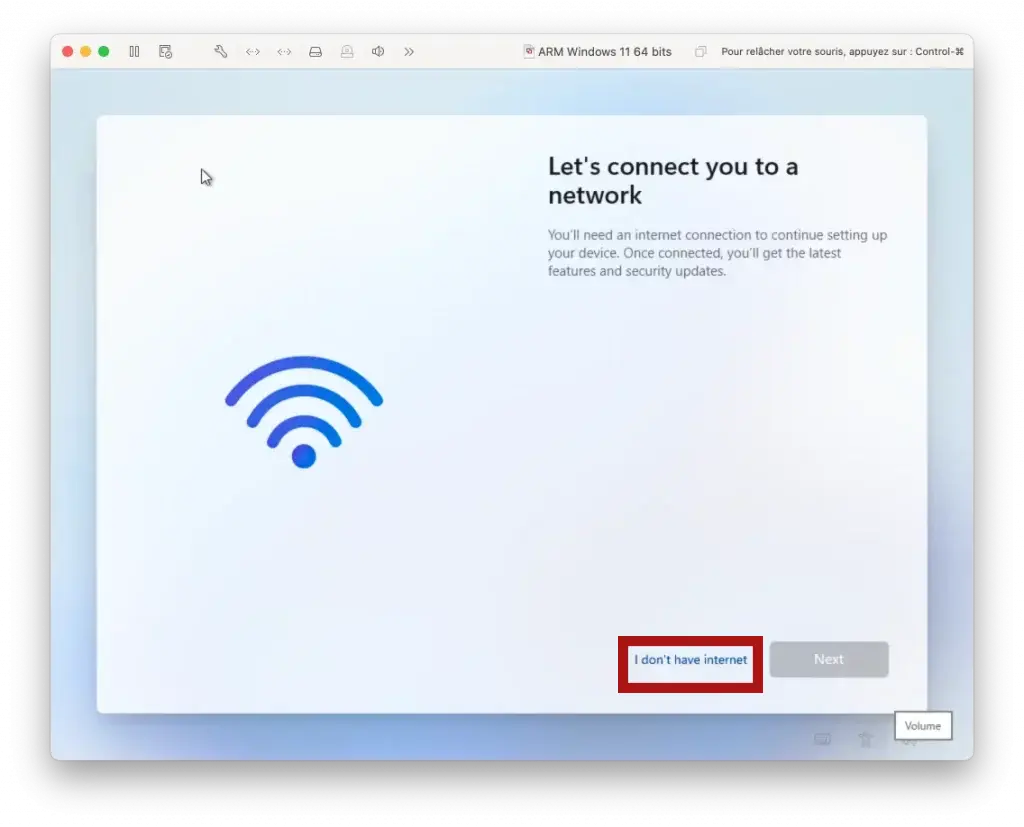
Click pe “I don’t have Internet“.
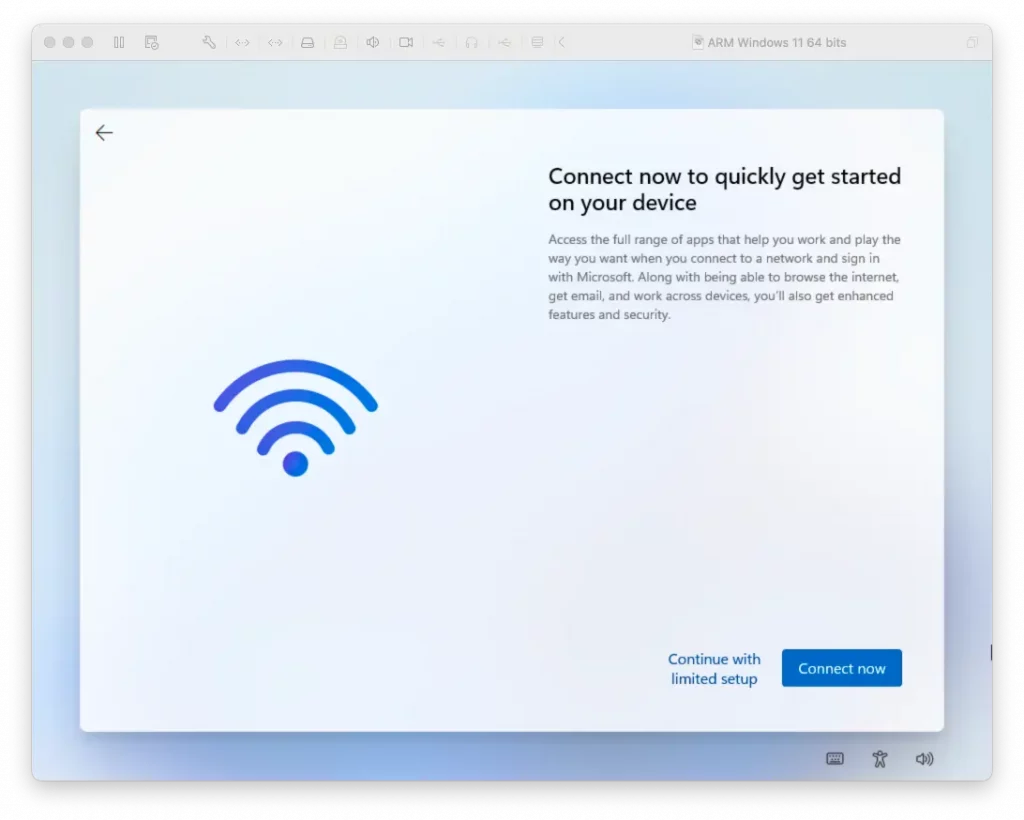
Click pe “Continue With Limited Setup“.
În continuare, dupa ce ai reușit să urmezi pașii ca să instalezi Windows 11 pe Apple Silicon cu VMware Fusion, o să ai sistemul de operare, dar fără conexiune la internet.
Ca să rezolvi și problema conectării la internet, deschide PowerShell cu privilegii de Admin, apoi execută linia de comandă de mai jos și apasă “A” for “Yes to All“:
Set-ExecutionPolicy RemoteSigned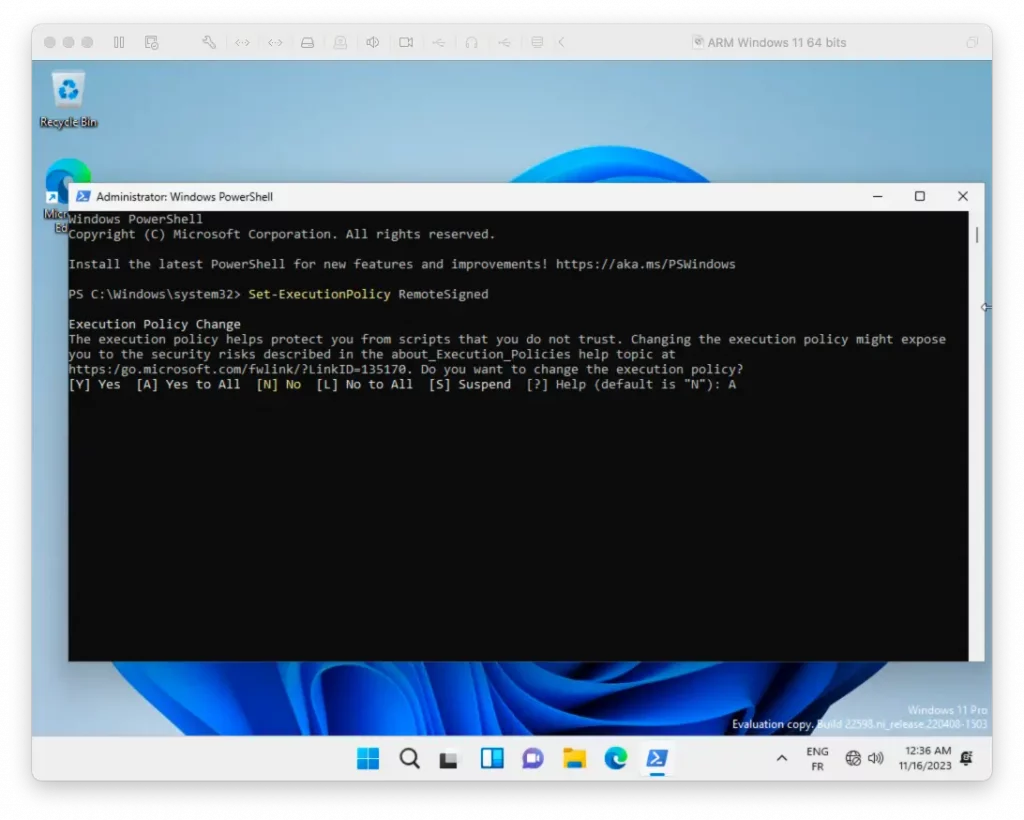
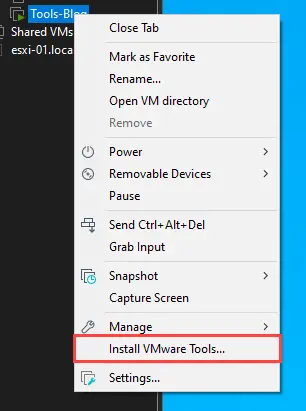
Apoi, tot ce trebuie să faceți este să instalați “VMware Tools” prin intermediul meniului VMware.
Restartați sistemul de operare Windows pentru ca totul să funcționeze normal. Veți avea Windows 11 pe Apple Silicon perfect funcțional.