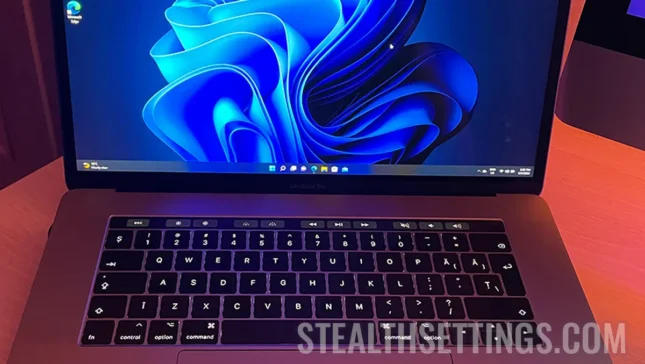
Macos is a very stable and reliable operating system, but if for some reasons you need to install Windows 11 on MacBook or Mac, in this tutorial you will see step by step how you can install with Boot Camp Assistant. For this tutorial, the installation of Windows 11 was done on the MacBook Pro 2017, the model with touch bar.
content
With the launch of Windows 11, Microsoft has limited this upgrade for many PCs and older generations laptops. Computers who do not support TPM 2.0 and UEFI (Secure Boot), theoretically, have no way to run Windows 11. For this reason, Windows 11 is not compatible with any Mac or MacBook, because Apple does not use computers for TPM 2.0 and UEFI. Theoretical. Basically, with a few operations and patience, you can install Windows 11 on MacBook, both Intel and Apple Silicon architecture (chip M1, M2, M3 or other generations).
Știu că sunt multe tutoriale care arată câteva trucuri cu ajutorul cărora se poate face instalarea Windows 11 pe MacBook, însă pentru posesorii de modele MacBook cu Touch Bar și cu porturi USB-C, este este puțin mai complicat. În timpul procesului de instalare poate să fie necesare combinații de taste care să implice tastele speciale “F” sau să fie nevoie de conectarea unui mouse wireless cu receiver USB. Pentru ca problema să fie și mai complicată, Boot Camp Assistant pe macOS Monterey (și pe unele versiuni mai noi de macOS) nu mai permite instalarea de Windows 10 folosind un Flash Drive (USB Stick). Era un truc prin care se puteau modifica fișierele Windows 11 din sursă externă (flash drive), și astfel se putea face instalarea. Trucul a rămas valabil numai pentru macOS Catalina. Vechile modele de Mac.
Related: Fix “This PC can’t run Windows 11” and Install
How to install Windows 11 on MacBook (Touch Bar)
With all the difficulties mentioned above, you can install Windows 11 on the MacBook Pro with Touch Bar, following the steps below. It should be mentioned that this tutorial is written for Macos Monterey. Over time, Apple may have changed something in Boot Camp Assistant so that this process is simplified and the Windows 11 installation can be made much simpler. So, use this tutorial only if the method is standard installation does not deplete your Windows 11 installation.
Related: How to Install Windows 11 on Apple Silicon with VMware Fusion
1. Download the ISO image of the Windows 10 operating system.
Basically, there is no possibility to install Windows 11 directly with Boot Camp Assistant. The only option is to install Windows 10 first and then upgrade to Windows 11. (At least that's what I did after many other failed attempts).
Mergeți pe pagina de descărcare oficială a Windows 10 și descărcați imaginea ISO a Windows 10 pe 64 de biți pe Mac. De preferat în folderul “Downloads”.
Download Windows 10 ISO from Microsoft
2. Install Windows 10 on Mac with Boot Camp Assistant.
Open the Boot Camp Assistant utility on Macos and follow the Windows 10 installation steps, using the ISO image downloaded at Step 1. Assign for the operating system about 90 GB. Windows 10 on 64 bits require at least 20 GB, but to install Windows 11 on Macbook it takes at least 64 GB.
Most likely, in the process of installing Windows 10 you will not have Wi-Fi drivers to connect to the Internet (and no USB-C Ethernet adapter I don't think you have at hand). Complete the Windows 10 installation process on the Mac, and after starting the system, run the boot camp utility on Windows 10 (it has launched automatically) and wait to install all the necessary drivers, including for Wi-Fi. Connect Windows 10 via Wireless to the Internet and run Windows Updates.
3. Download the ISO image of Windows 11 on 64 bits.
Go to the official download page of Windows 11 and download the ISO image. Preferably, download it to a USB stick so you don't take space on Windows 10.
4. Download the Windows11Upgrade utility.
Windows11UPGRADE is a free utility, without advertisements and other nonsense through it, which helps us do bypass to Microsoft system requirements for Windows 11. Download Windows11Upgrade via Github.
Download Windows11Upgrade via GitHub.
5. Install Windows 11 with Windows11Upgrade.
At this step you start installing Windows 11 on MacBook. Run Windows11Upgrade on Windows 10 and select the ISO image of Windows 11 downloaded at point 3. The installation process can take a few good minutes, but at the end you will have Windows 11 on the MacBook Pro.
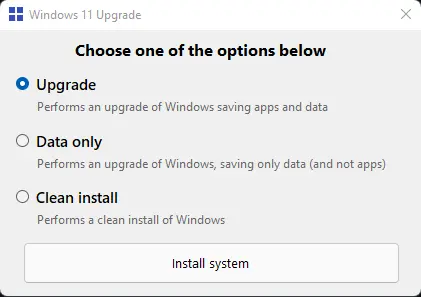
Eu l-am instalat folosind opțiunea “Upgrade”, fiind mai sigur ținând cont că acest utilitar nu a fost conceput pentru a instala Windows 11 pe Mac. Opțiunea “Clean install” nu o recomand deloc. Este posibil să pierdeți driverele instalate cu Boot Camp și alte aplicații Apple instalate pentru buna funcționare a Windows.
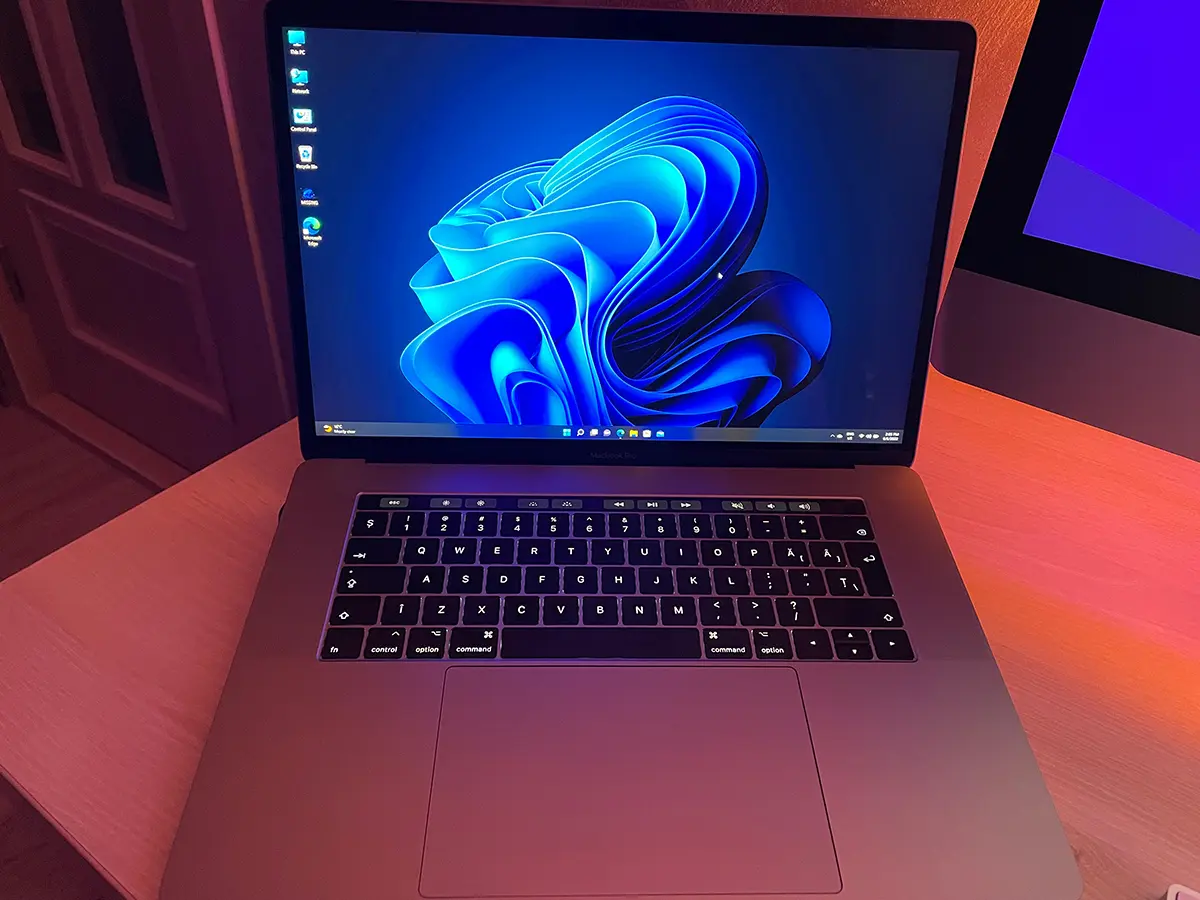
Windows 11 pe MacBook Pro – Prima impresie
Related: How can you connect Magic Mouse (Apple) to a computer or laptop with Windows operating system.
Sistemul de operare rulează foarte rapid, iar în câteva ore de teste nu am întâmpinat erori. Touch Bar funcționează pentru tastele speciale “F” în combinație cu “Fn” și pentru comenzile de luminozitate a display-ului, tastatură și control media. Driverul pentru placa video AMD Radeon Pro a MacBook-ului a fost instalat împreună cu software-ul de calibrare și personalizare. Magic Mouse 2 se conectează automat, fără să fie nevoie de conectare manuală. Necesită setări personalizate pentru scrolling.
Lo intente instalar, coma por coma, punto por punto como indicado, pero no funciona. Aparece un mensaje, tras un rato, diciendo (windows 11) que “esta con dificultades en comprobar la compatibilidad del equipo”. Justo lo que no tiene que decir, ya que al app windows 11-Upgrade es para impedir de pase eso.