Artificial intelligence has become increasingly used in many fields of activity, and to adapt to new ways of working, it is good to learn how to efficiently use these new AI-based tools. In this tutorial, you will see how to use Copilot in Excel.
Microsoft has heavily invested in generative artificial intelligence, and the company has not delayed in introducing this technology into its products. Thus, with a Copilot Pro subscription, Microsoft 365 Personal or Family subscribers can create, edit, or analyze documents (Word), spreadsheets (Excel), and presentations (PowerPoint) with the help of artificial intelligence.
Content
Create a spreadsheet in Excel
Before you begin, in order to use Copilot in Excel, in addition to the Copilot Pro subscription and the Microsoft 365 Personal or Microsoft 365 Family subscription, you need to have a spreadsheet open in Excel for the Copilot companion button to become active.
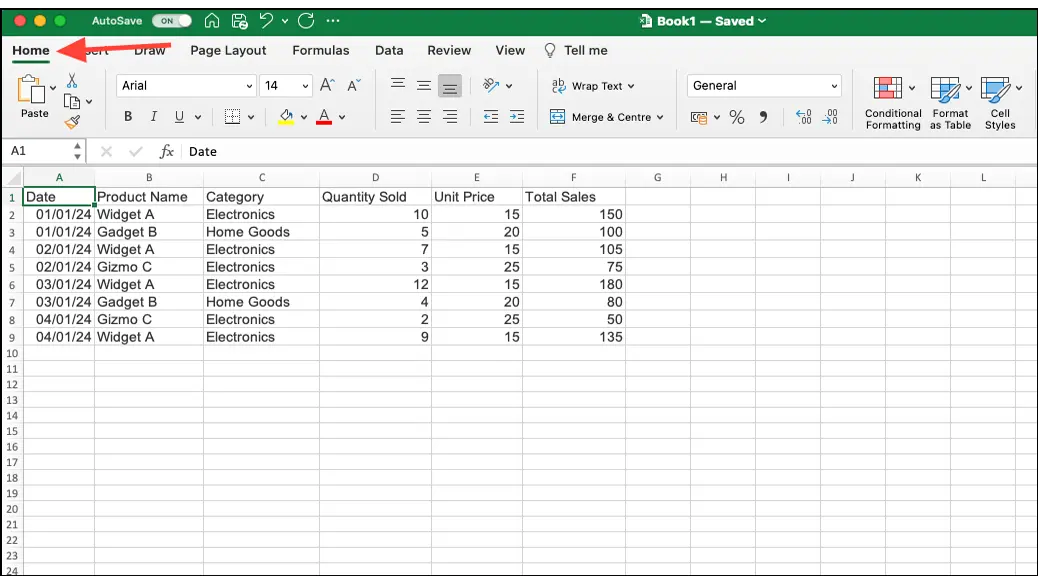
1. Open a spreadsheet in Excel with data entered.
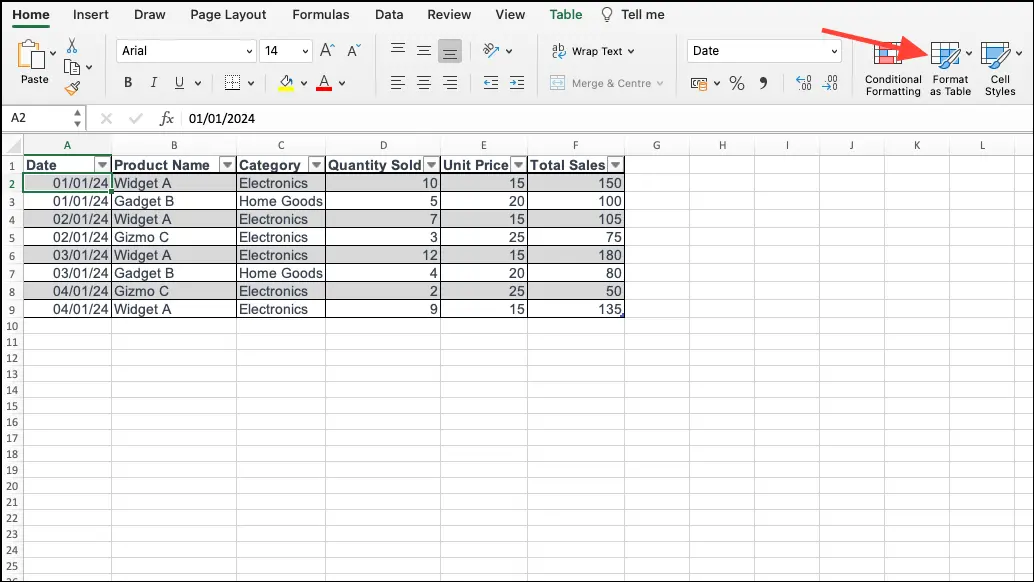
2. Then, select the cell or range of cells in question.
3. Go to the "Format as Table" option in the "Home" tab.
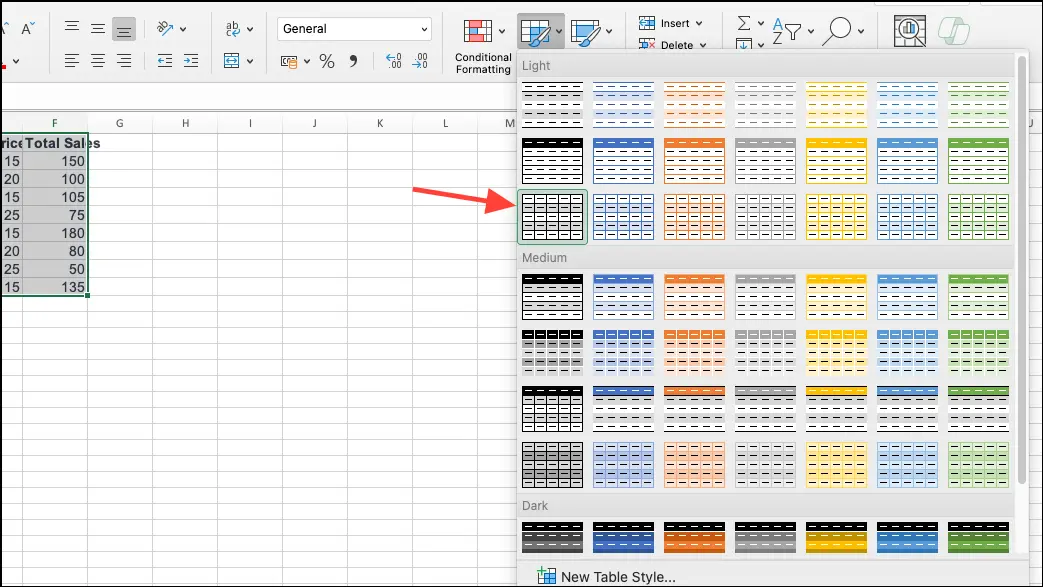
4. Select a table style.
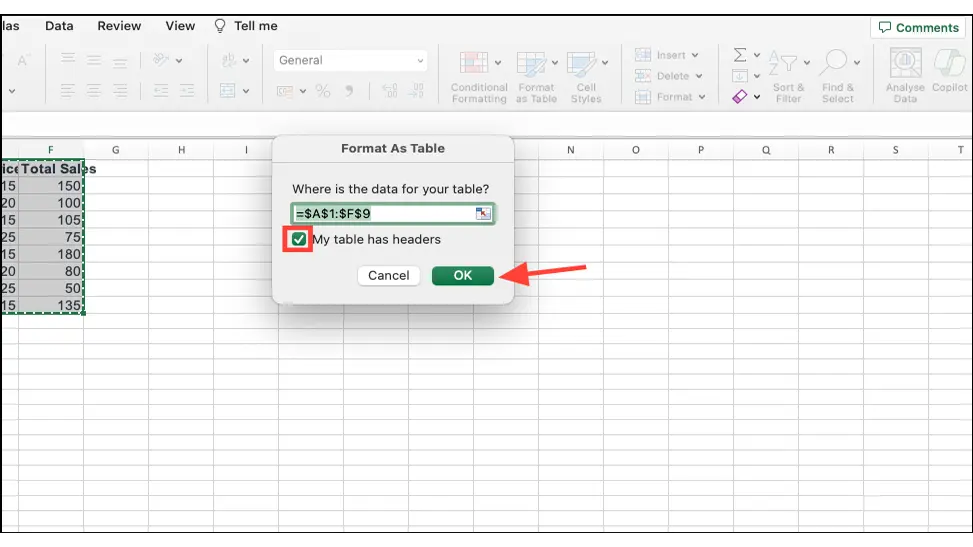
5. Check the "My Table has headers" option if you want the first line of your data to appear as a table header, then press "OK".
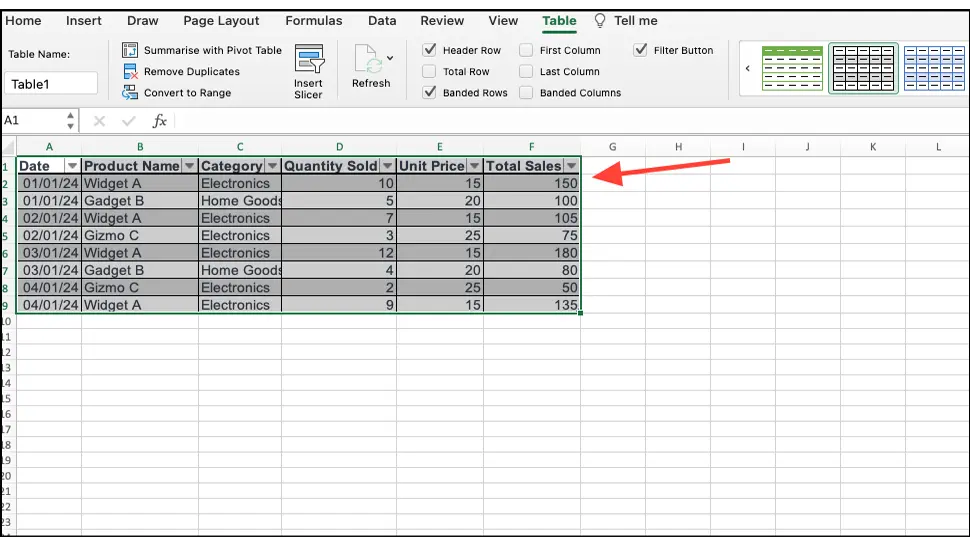
6. Now you have an Excel table at your disposal.
To use Copilot in Excel, the spreadsheet needs to be saved in your OneDrive or SharePoint account. Once you have saved the file in the cloud, the option to use Copilot in Excel will become available.
How to use Copilot in Excel for spreadsheets
Now, you can use Copilot in your Excel worksheet to get assistance with various tasks.
Copilot even works for large Excel tables - tables with up to two million cells. However, for large tables, it may take a long time (more than 30 seconds) for Copilot to generate a response. Options such as highlighting, sorting, filtering, and suggestions for column formulas have no limit on table size or amount of data.
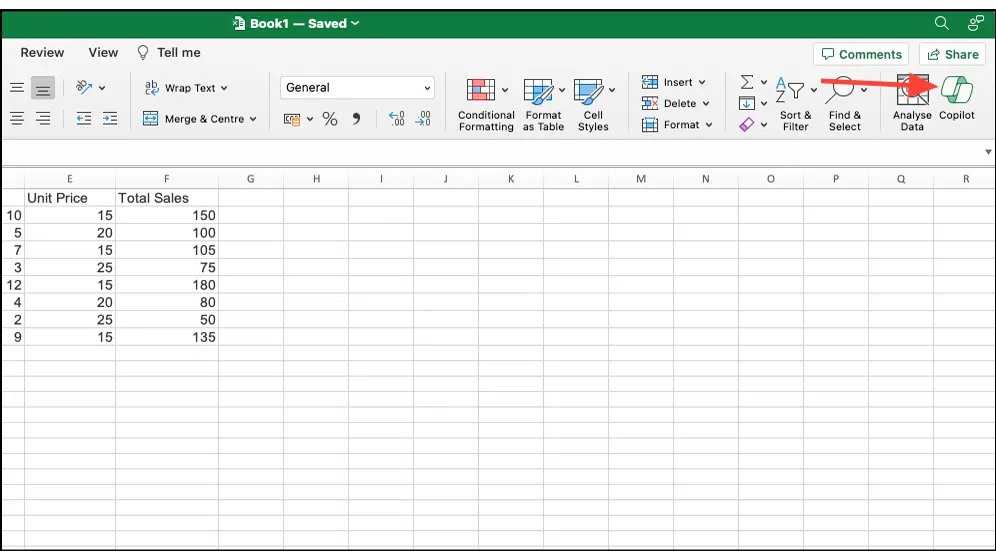
1. Open the Excel worksheet, then go to the "Home" tab.
2. Click on the "Copilot" button in the upper right corner.
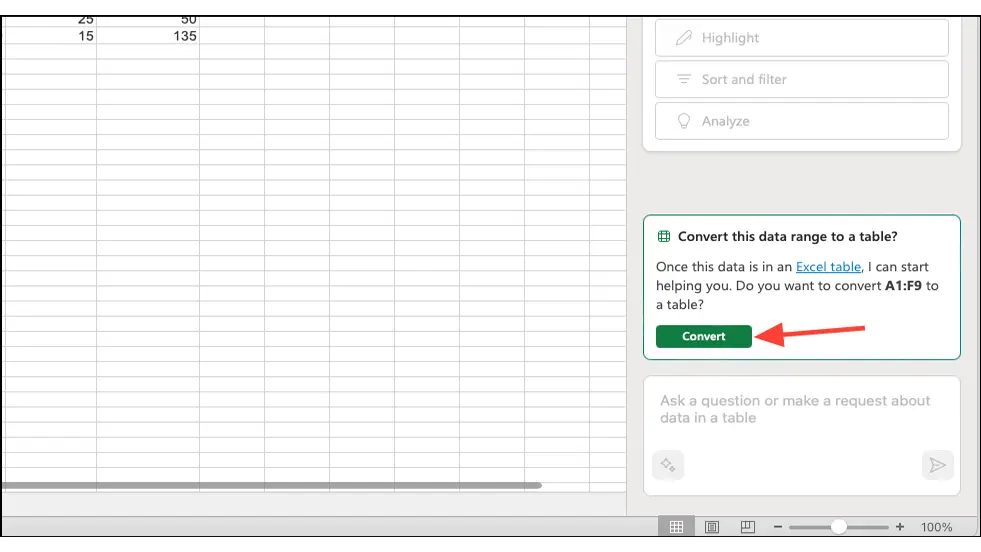
3. The Copilot chat panel will open on the right side. If your worksheet already has Copilot activated, but you don't have an Excel table for your current data, Copilot can convert them for you.
4. To interact with the table using one of the abilities mentioned below, make sure you have selected a cell or a range of dates in the Excel table.
Find Insights in Excel with Copilot
1. From the Copilot chat panel, click on "Analyze".
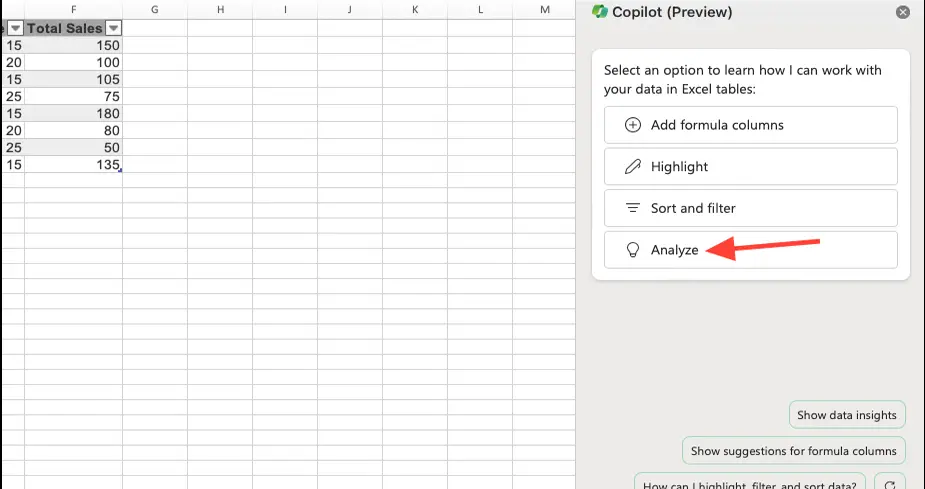
2. Copilot will analyze your data and display some suggestions (prompts) that you can use to gain insights based on your data. Click on the prompt you want to use.
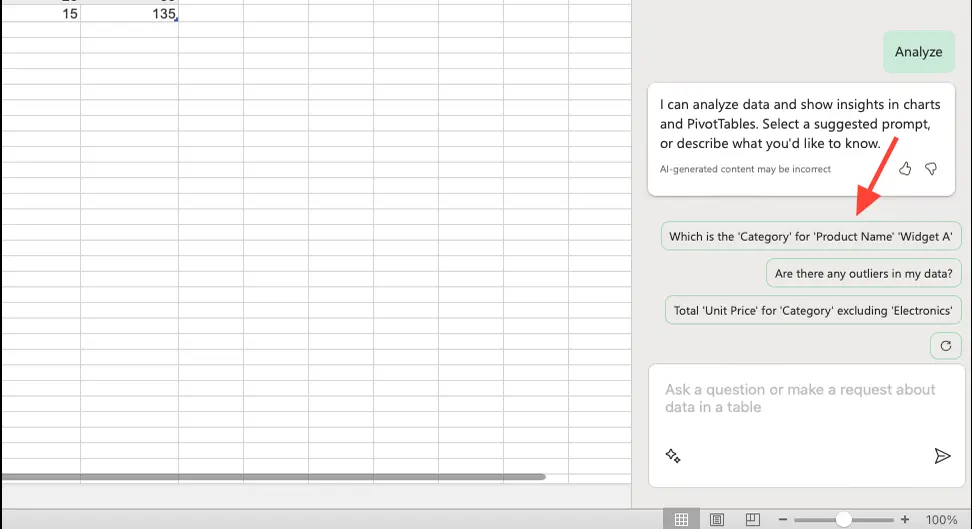
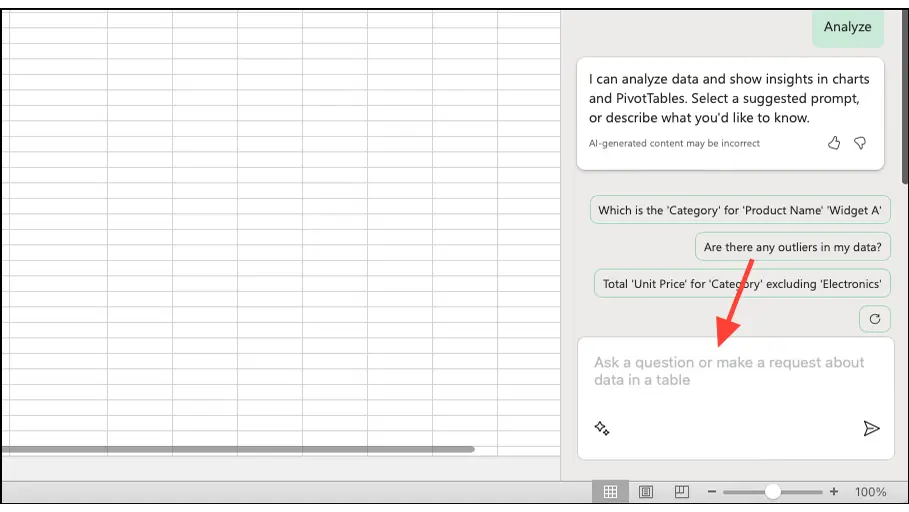
3. You can also enter your own prompt in the suggestion area if you know what insights you want to request from Copilot about your data. Click the "Send" button to submit your prompt to Copilot.
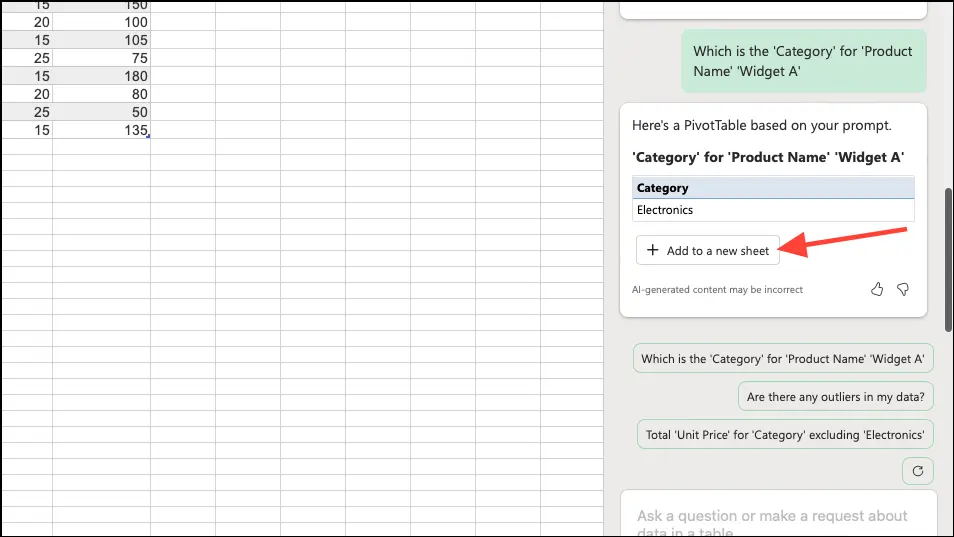
4. Copilot can display insights in the form of PivotTable objects, charts, summaries, trends, or outliers (values significantly further from the rest of the data). Essentially, Copilot will generate in Excel what best serves your request. To add a chart to the Excel worksheet, click on the "Add to a new sheet" button.
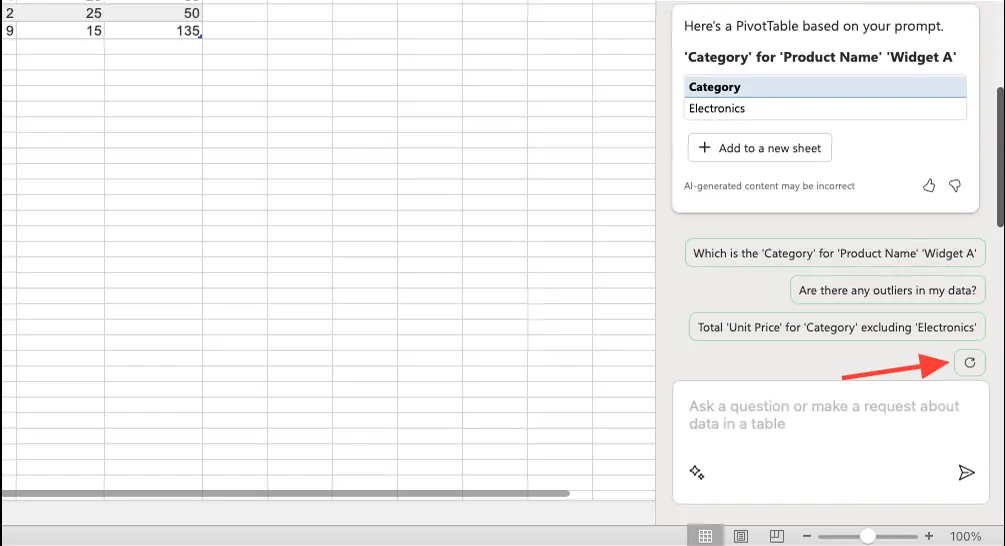
5. You can click on another suggestion to get more insights, or click on the "Refresh" button to get a new set of suggestions from Copilot.
Analyze your data for various requests and examine the information that Copilot generates to make the most of your data.
Highlight and sort your Excel data with Copilot
Copilot can easily highlight your data according to simple conditional formatting rules or can sort and filter Excel tables for you.
1. From the Copilot panel, click on "Highlight" or "Sort and filter".
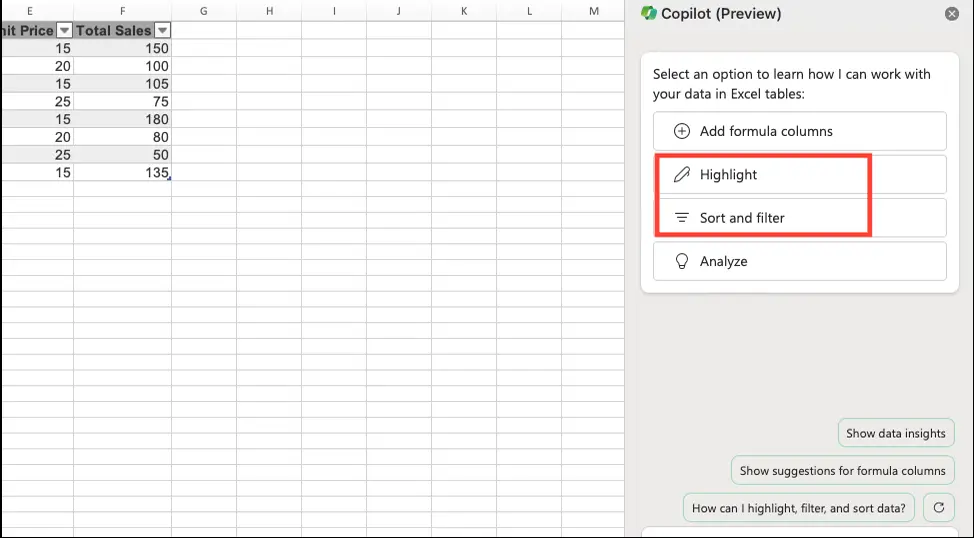
2. Copilot will begin analyzing the data. Once the analysis is complete, it will suggest prompts that you can use for your data. Regardless of the category you choose, the suggested prompts will have options for highlighting, sorting, and filtering the data. Click on the prompt for which you want to process the data.
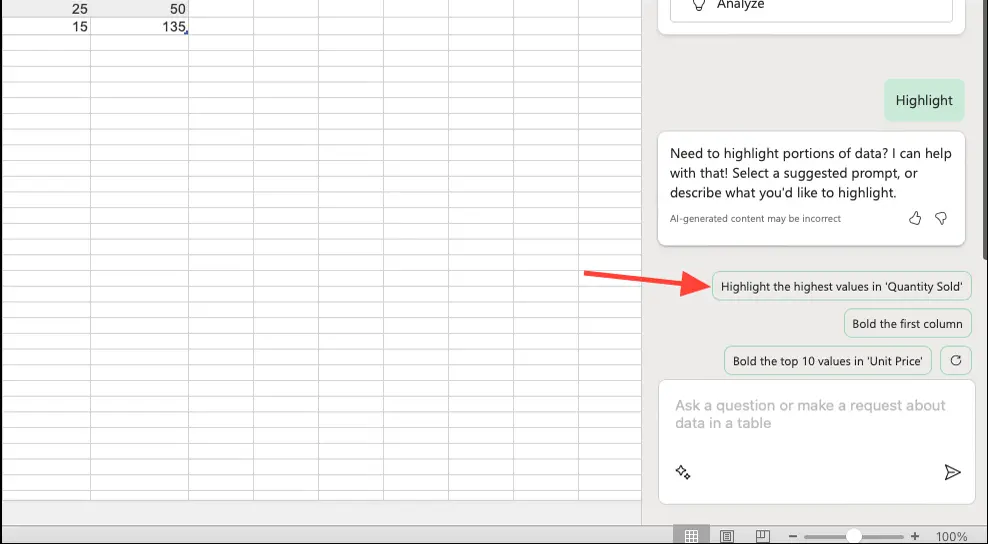
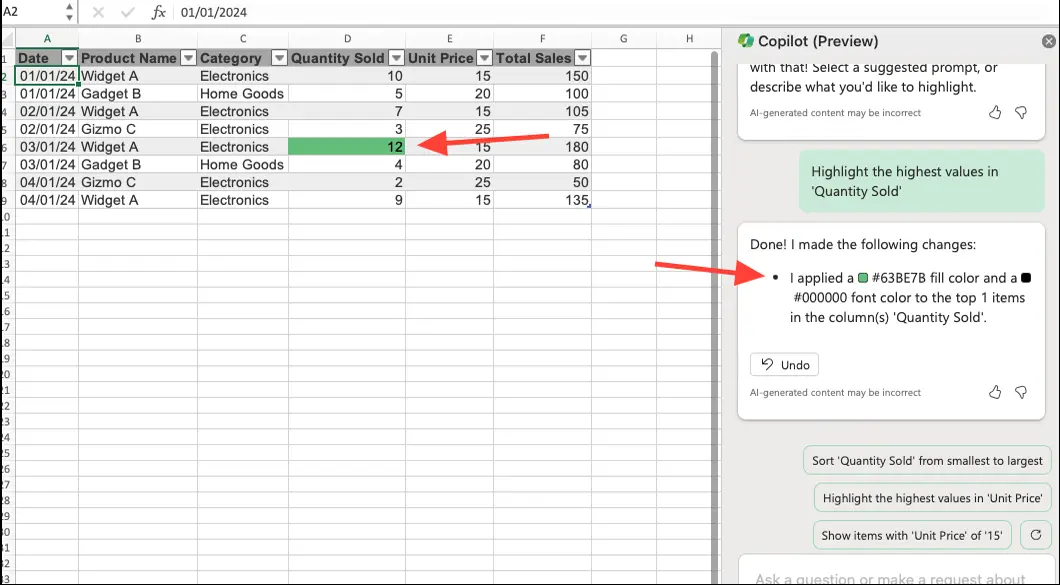
3. You can also input your own prompt to instruct Copilot how you want to modify the table. Depending on the prompt, Copilot will make the changes in your table.
Related: Excel Tutorials and Tricks.
Generate formula columns in Excel with Copilot
Copilot in Excel can also help you find formulas for a new column and add the column for you.
1. From the Copilot chat panel, click on the "Add formula columns" option.
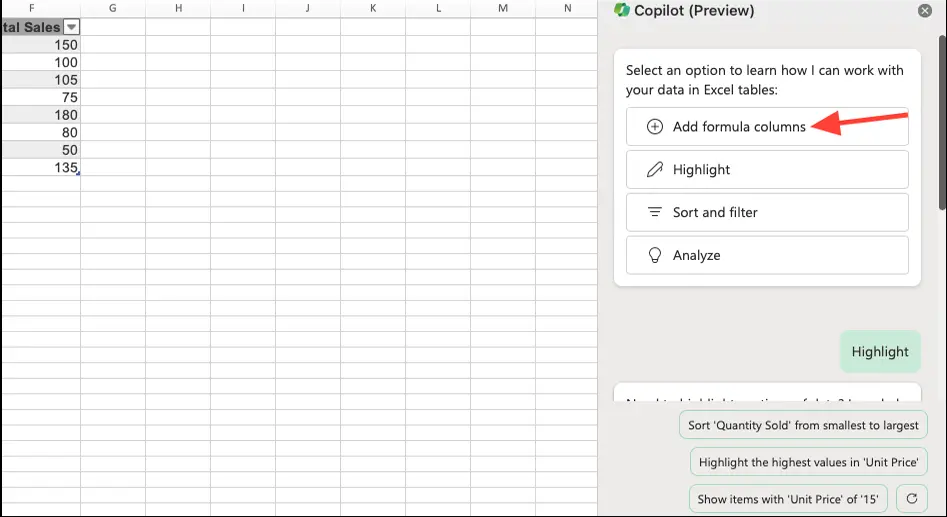
2. Copilot will come up with some formula columns that you can add. Click on a suggested prompt to use it in Excel.
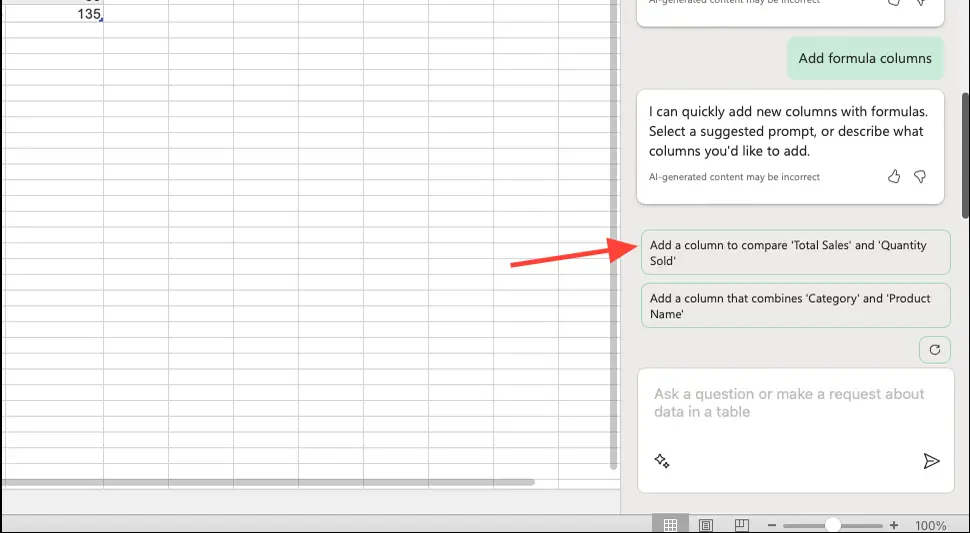
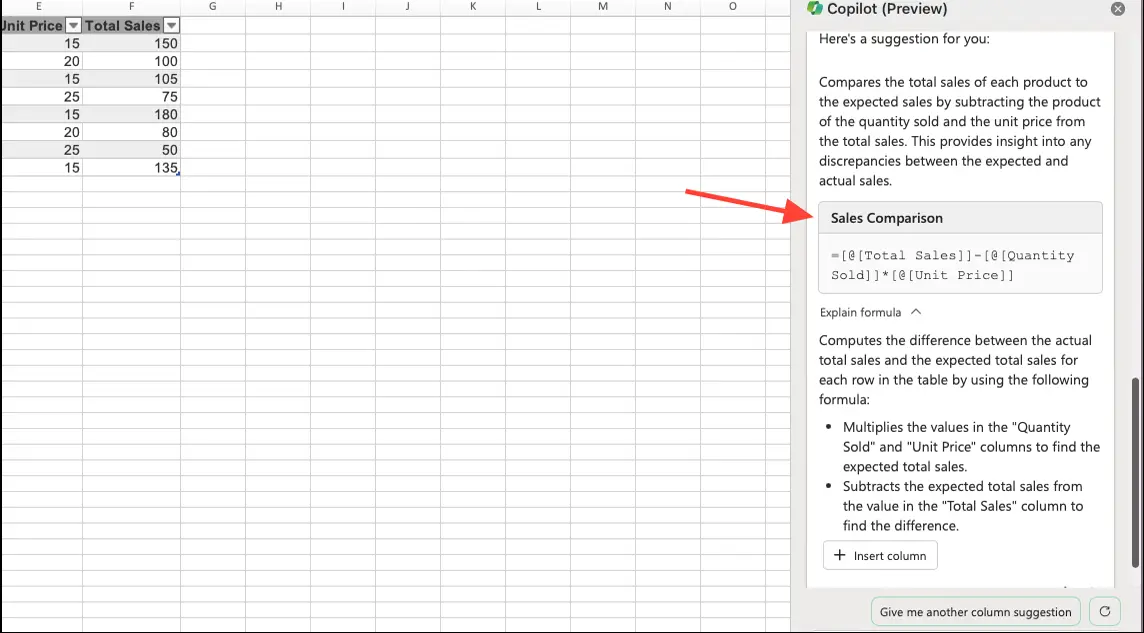
3. Additionally, you can describe in your own words which column you want to add and send the prompt to Copilot. The AI will then provide a formula suggestion based on your request. You can also see an explanation of how the formula works.
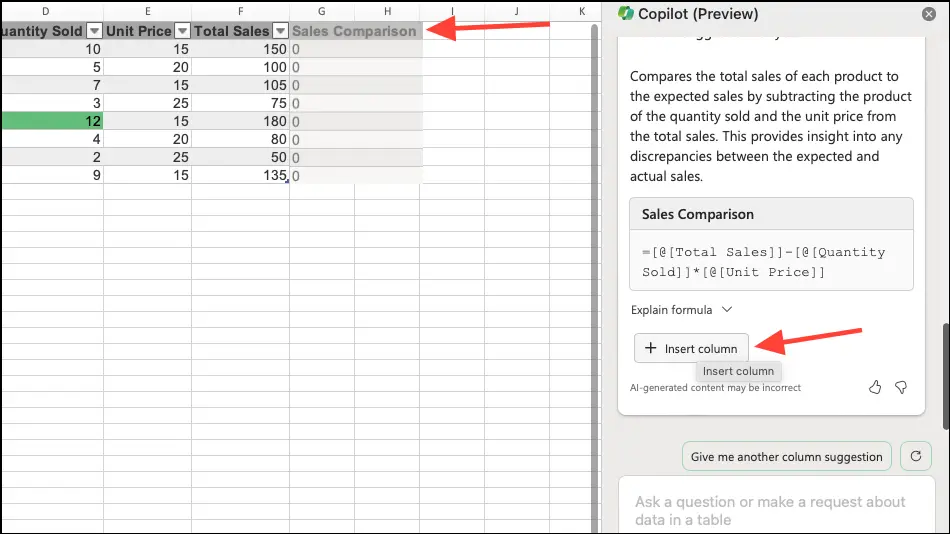
4. If you want to insert the column into your worksheet, click on the "Insert Column" button.
Using Copilot in Excel for spreadsheets provides a powerful way to analyze data and obtain information more efficiently. With the help of advanced technologies such as machine learning and natural language processing, Copilot becomes an intelligent partner for Excel users, extending their capabilities in data management. While still in preview, Microsoft continues to improve Copilot based on user feedback. As it evolves to support more languages and data formats, Copilot has the potential to revolutionize how people interact with data within the Excel platform.
As of the publication date of this article, you can only use Copilot in Excel in the English language.